Preferences
Manage your FinWise preferences to customize how the app works for you. Access your preferences by going to Settings > Preferences.
General Preferences
Configure general settings that affect how FinWise displays and handles your data.
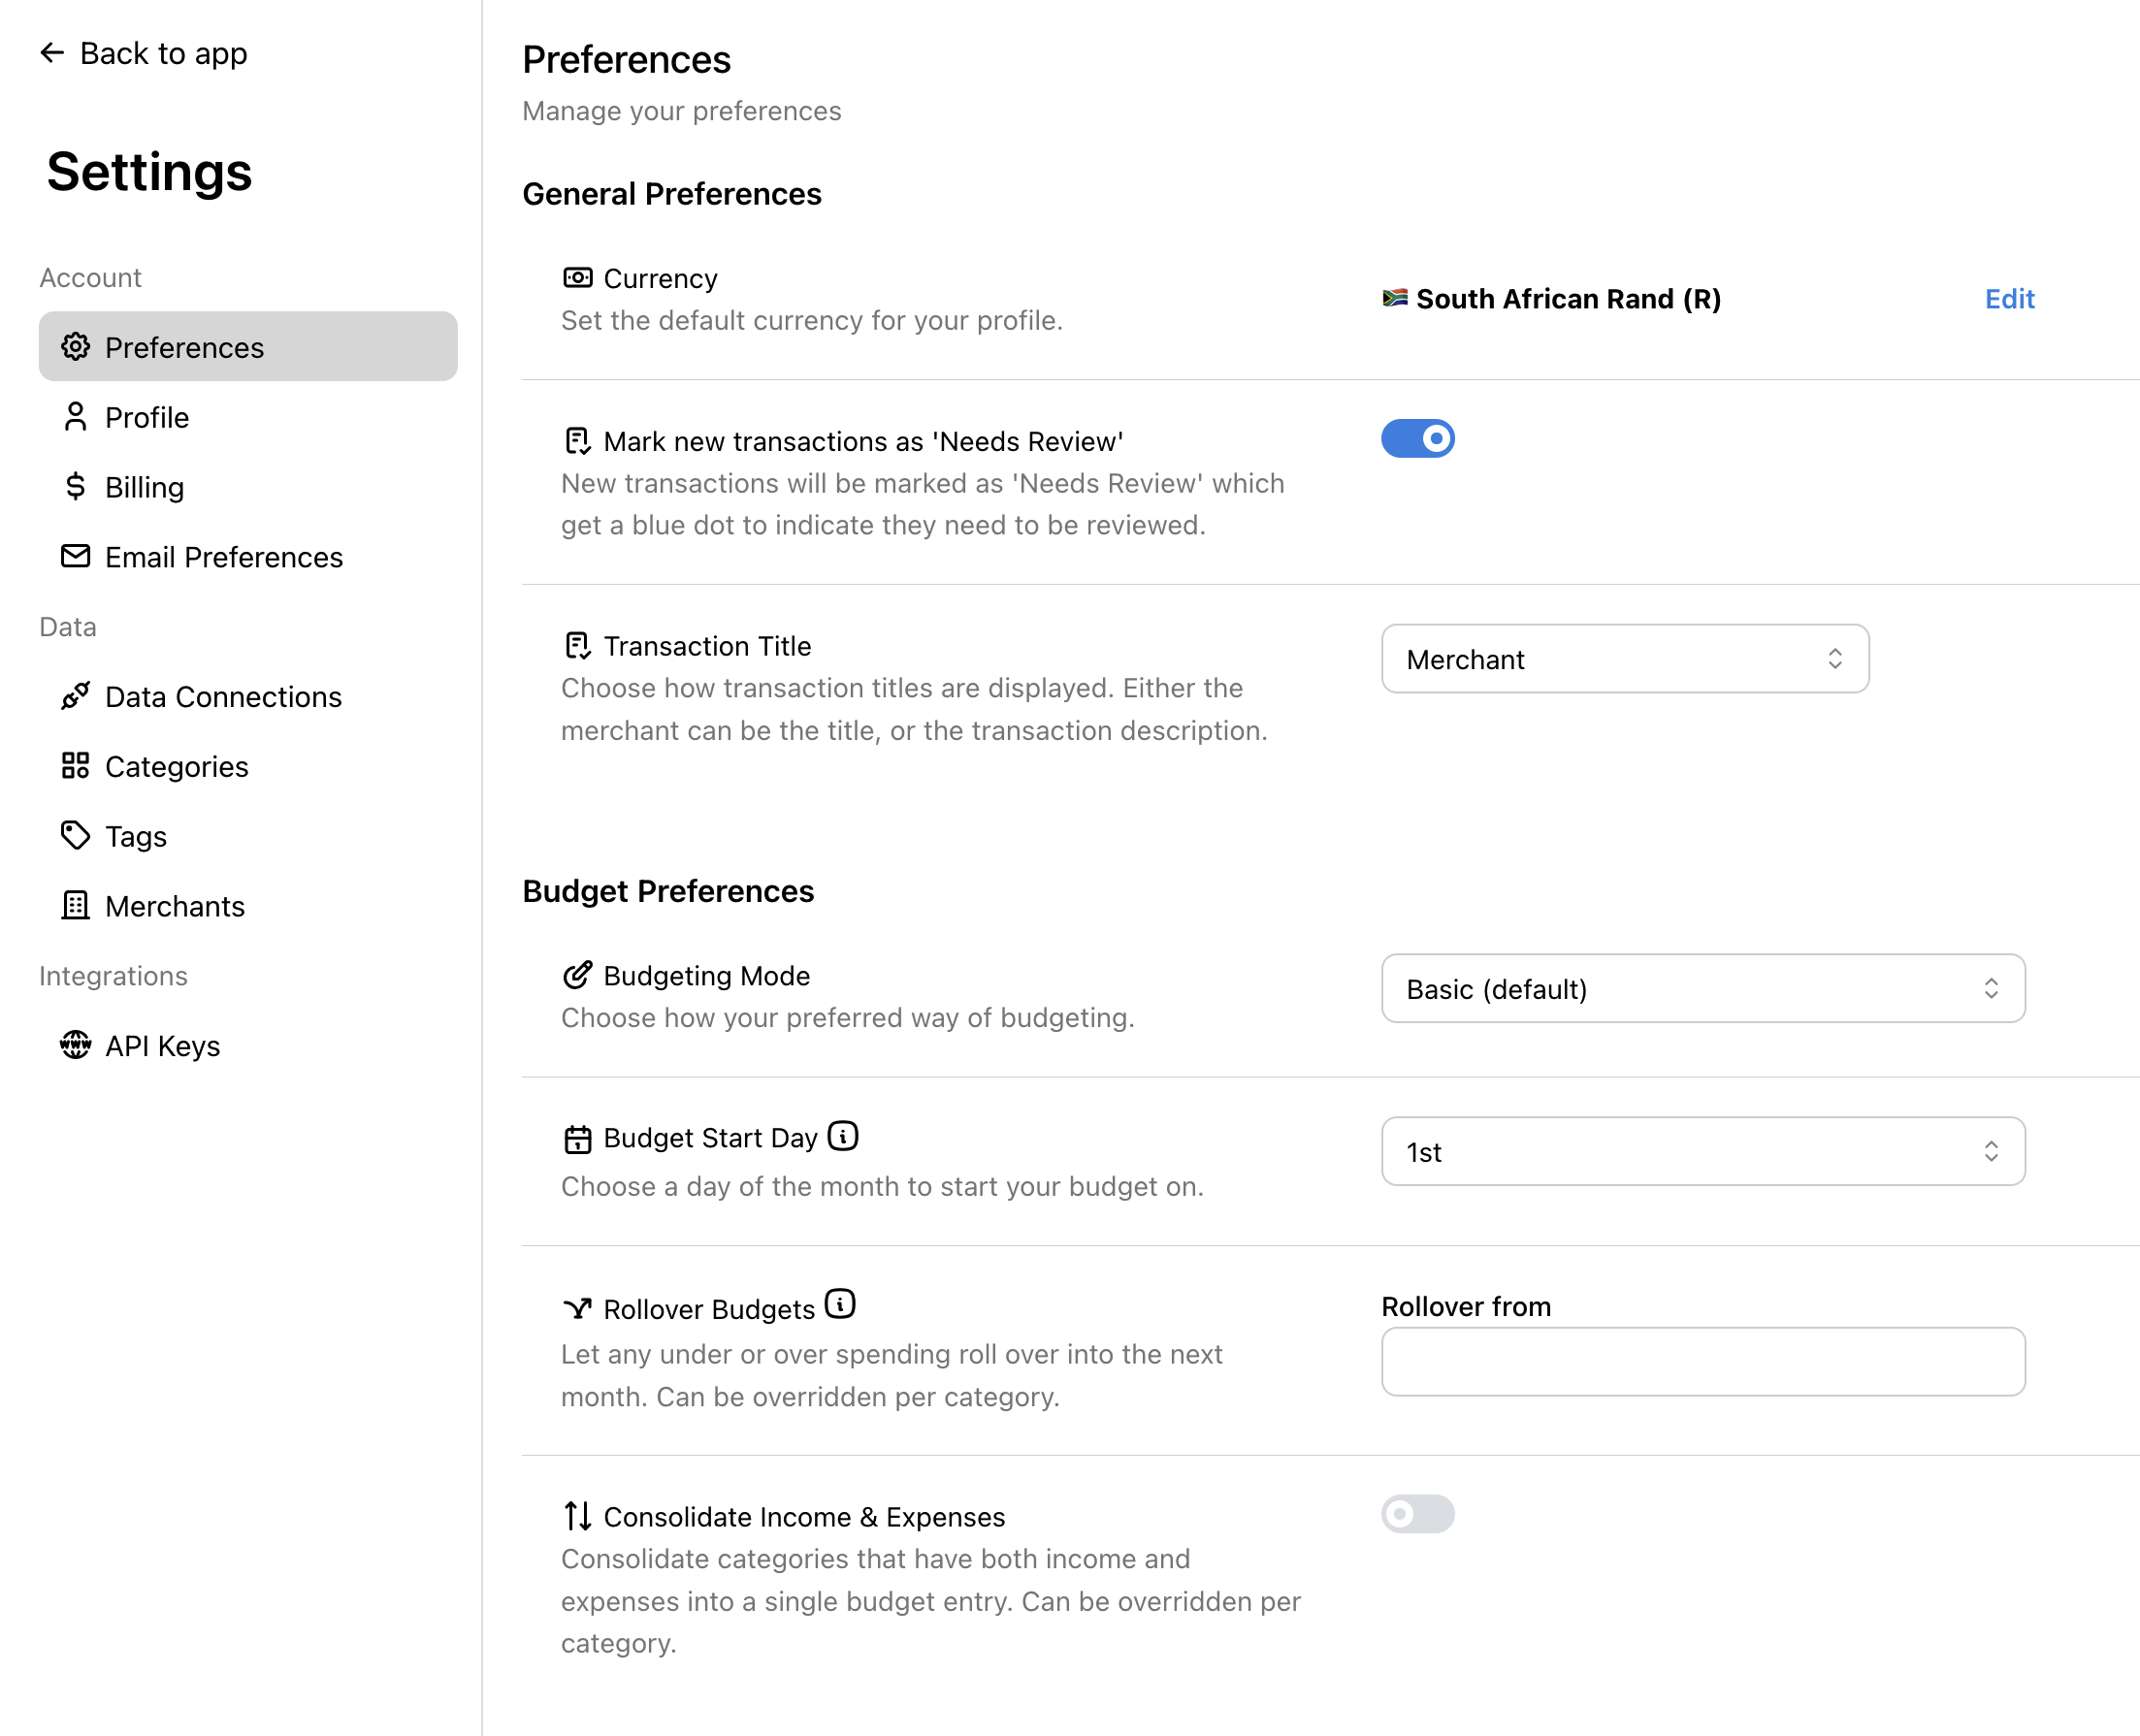
Currency
Set the default currency for your profile. This is your primary currency used for net worth calculations, budgets, and reports.
FinWise supports over 18 currencies including USD, EUR, GBP, ZAR, and many more. You can still have accounts in different currencies - FinWise automatically converts transactions to your primary currency for unified insights.
Mark New Transactions as 'Needs Review'
When enabled, new transactions will be marked as 'Needs Review' and display a blue dot to indicate they need your attention.
This is helpful for staying on top of your transactions and ensuring everything is properly categorized. Learn more about Needs Review.
Transaction Title
Choose how transaction titles are displayed throughout the app:
• Merchant – Display the merchant name as the transaction title (default)
• Description – Display the original transaction description from your bank
Budget Preferences
Configure how your budgets work to match your financial planning style.
Budgeting Mode
Choose your preferred budgeting approach:
• Basic (Default) – Basic month-to-month budgeting. This is the recommended mode for most users.
• Disabled – Disable budgeting but still track your spending and expenses.
Budget Start Day
Choose which day of the month your budget period begins (1-28).
This is helpful if you want to align your budget with your paycheck. For example, if you receive your salary on the 25th of each month, you can set your budget to start on the 25th so your budget aligns directly with when you receive your income.
Rollover Budgets
Let any under or over spending roll over into the next month. This can be overridden per category.
For example, if you have a monthly budget of $100 and only spend $70 in January, the remaining $30 will roll over into February, giving you a budget of $130.
Consolidate Income & Expenses
Consolidate categories that have both income and expenses into a single budget entry. This can be overridden per category.
For example, if you have a Clothing category where you spend $200 and receive a $30 refund, consolidated view shows the net amount of $170 instead of separate income and expense lines.
This is especially useful for categories with refunds, returns, or reimbursements.
