Getting Started
Set up your account and start tracking your finances in about 5-10 minutes. Prefer video? Watch the getting started tutorial.
The images in this guide show the desktop app. Mobile-specific guides are coming soon, but most of this content applies to mobile too.
Step 1: Sign Up
Create your FinWise account using our web app or download the mobile app for iOS or Android. Your account syncs across all platforms, so you can access your finances anywhere.
Step 2: Customize Your Categories (Optional)
FinWise comes with default categories, but you can personalize them to match your spending habits. We use AI to automatically categorize your transactions based on the categories in the app, and customizing your categories helps make it more personalized. Go to Settings > Categories to:
• Rename categories to better fit your needs
• Add custom categories with your own icons and colors
• Remove categories you don't use
Categories are used to classify income and expense transactions. For detailed instructions, see the Categories guide.
Step 3: Add Your Accounts
FinWise offers two ways to track your accounts:
• Connect to your bank for automatic syncing - Link your bank accounts, credit cards, and investment accounts to automatically import and categorize your transactions.
• Manually create an account - Perfect for cash accounts, assets, or institutions not supported by automatic syncing. You can manually add transactions or import them via CSV.
For detailed instructions, see the Accounts guide.
Step 4: Set Up Your Budget
Go to the Budget page to start tracking your spending and income. You'll see categories that already have transactions that month, making it easy to set limits based on your actual spending.
Click on any category to set a budget limit. If you haven't imported transactions yet, you can also add categories to track and set limits by clicking the + icon next to the Income or Expenses header.
For detailed instructions, see the Budgeting guide.
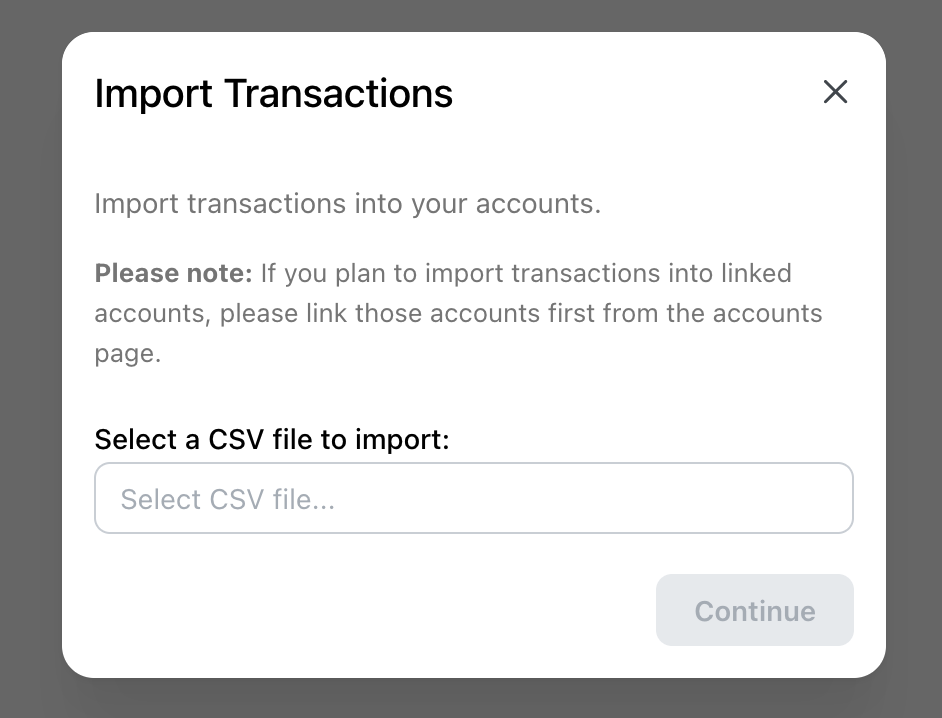
Step 5: Import Historical Transactions (Optional)
Want to bring in your past transactions? You can easily import historical data using a CSV file. This is especially useful if you are migrating from another app or want to have a complete picture of your finances.
For detailed instructions, see the Data Import guide.
Step 6: Review Your Transactions
Once your transactions are imported, head to the Transactions page to review them. New transactions are marked with a blue dot indicating they need review.
• Verify or change categories by clicking the category badge
• Add notes or tags for better organization
• Mark transactions as reviewed to track what you've already looked at
For detailed instructions, see the Transactions guide and Needs Review.
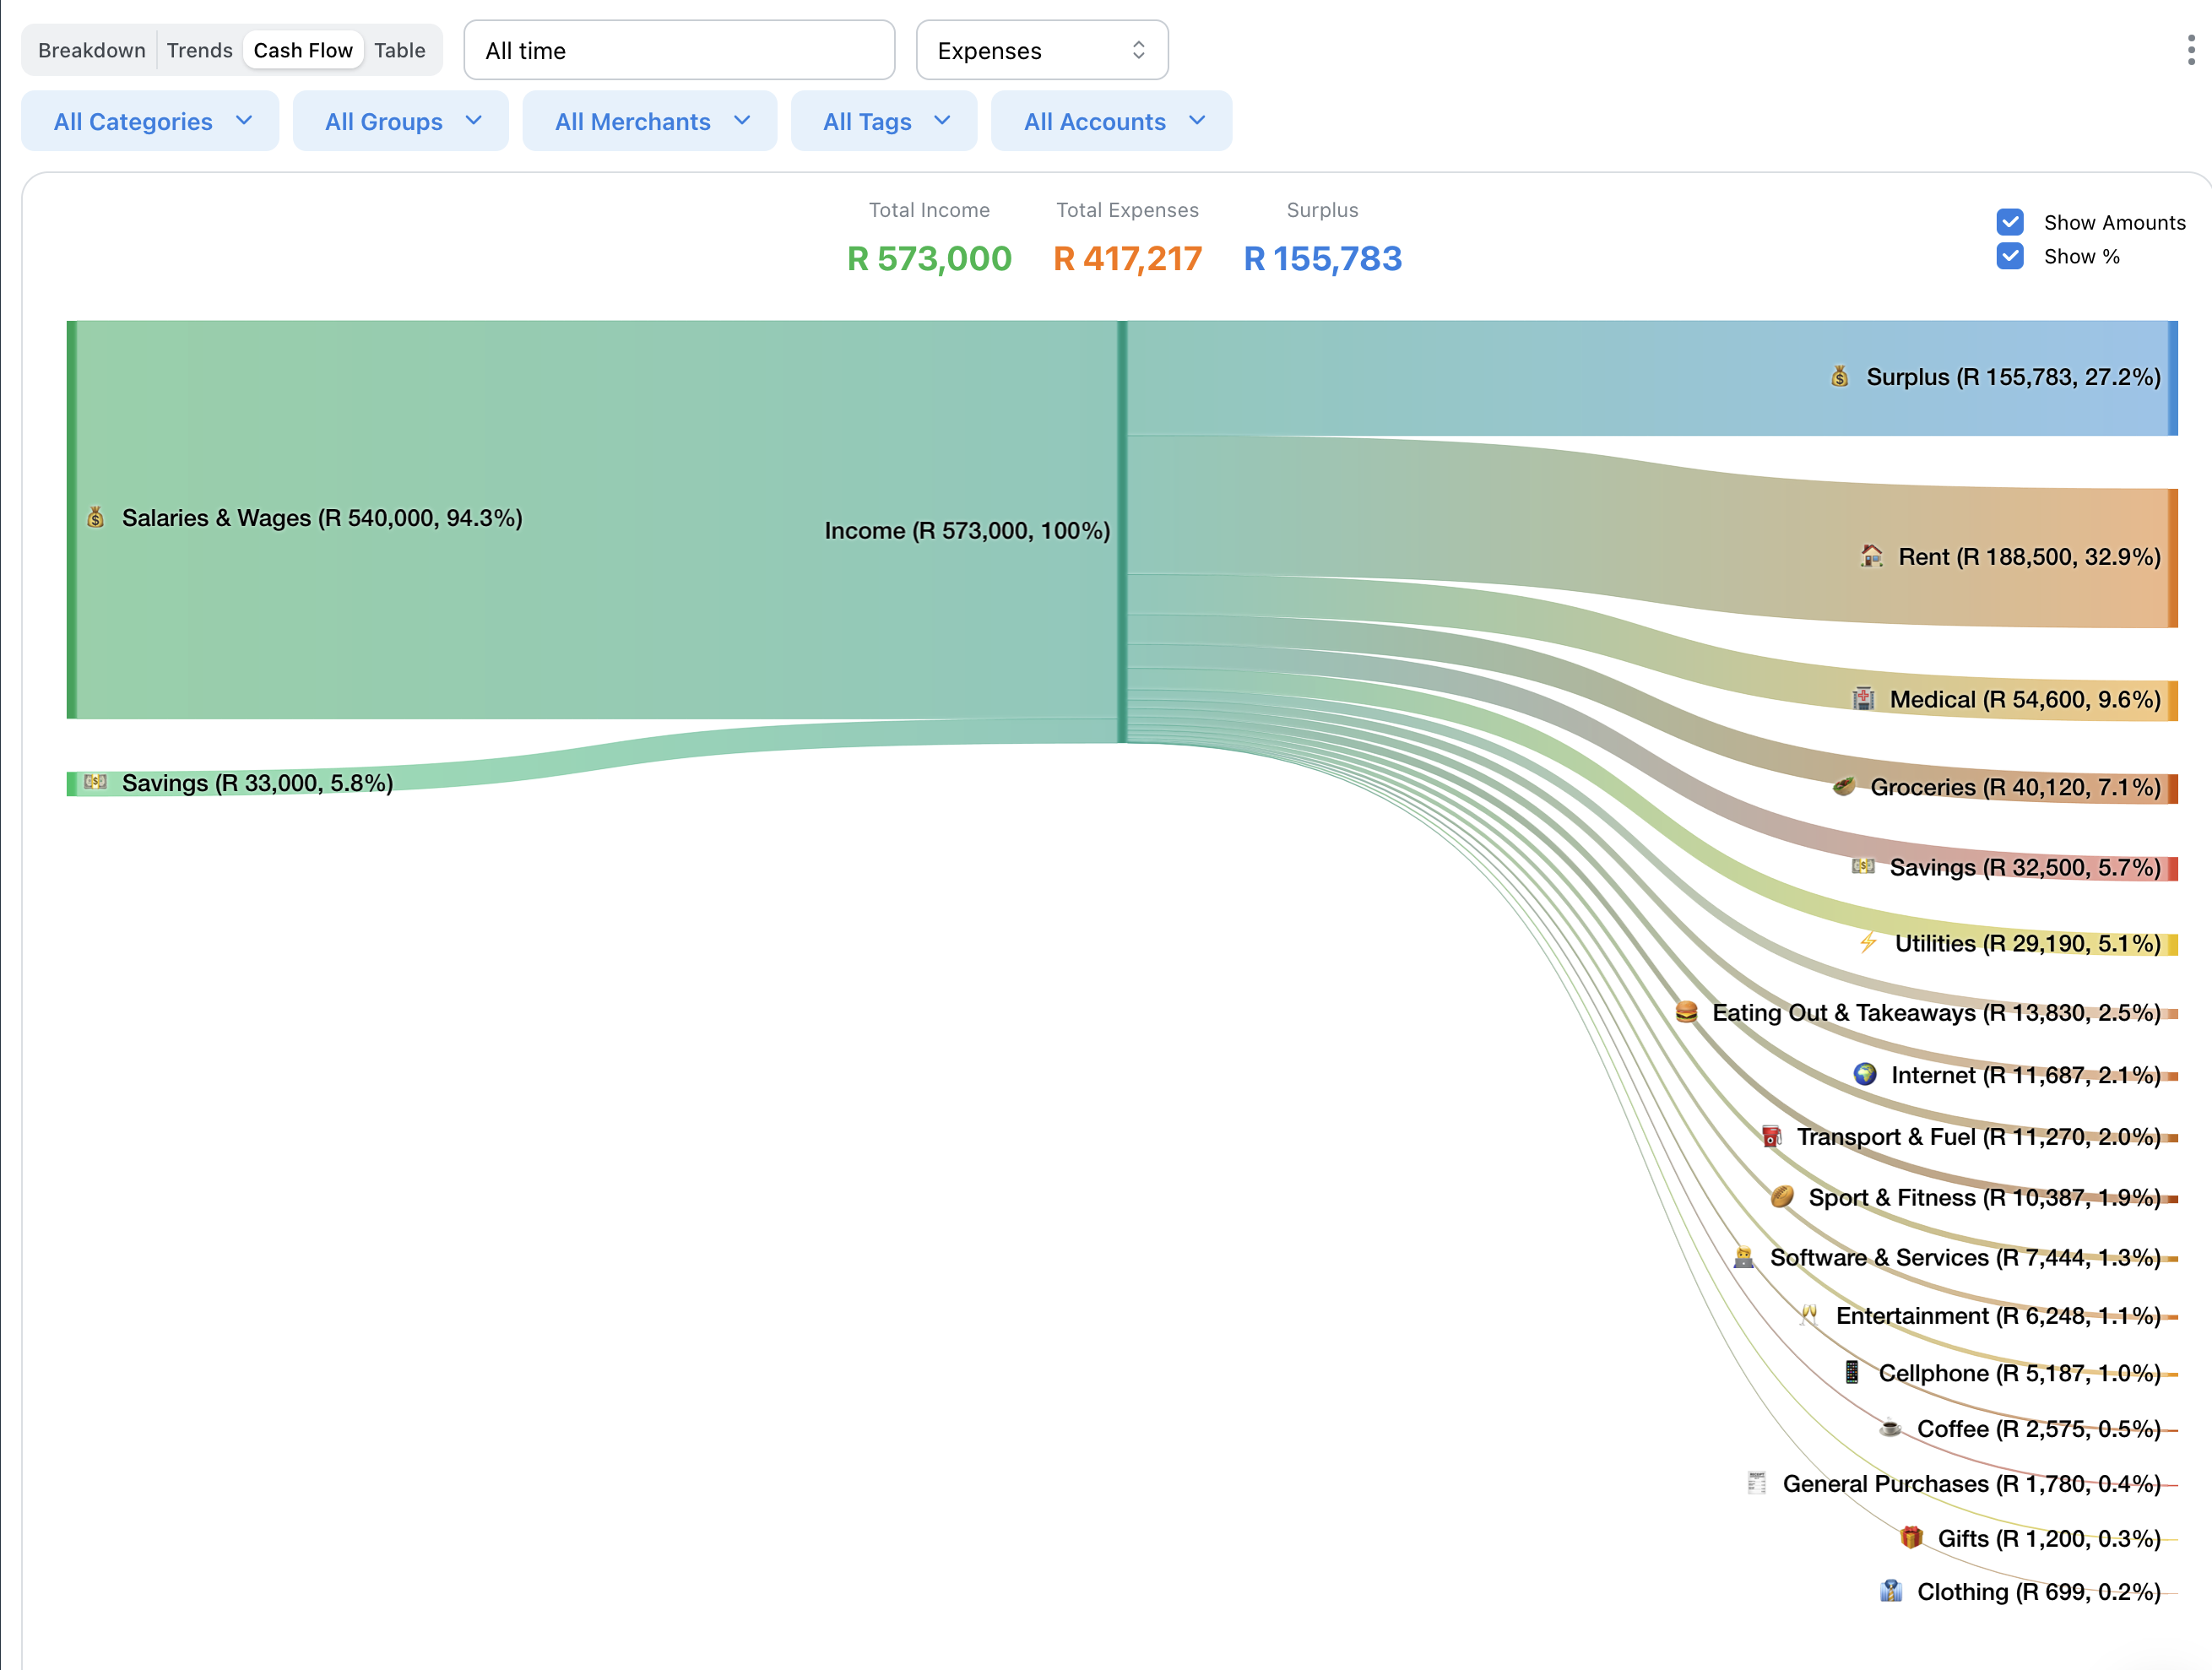
Step 7: Explore Your Insights
Once you have some transactions, check out the Insights page to see spending breakdowns, income vs expenses, top merchants, and spending trends.
For detailed instructions, see the Insights guide.
You're All Set!
Congratulations! You're now set up and ready to take control of your finances with FinWise.
As you use the app, consider exploring:
• Tags to organize transactions by project or trip
• Plans to set savings goals
• Dashboard to track your overall financial progress
If you have any questions, check out our FAQ or contact support.